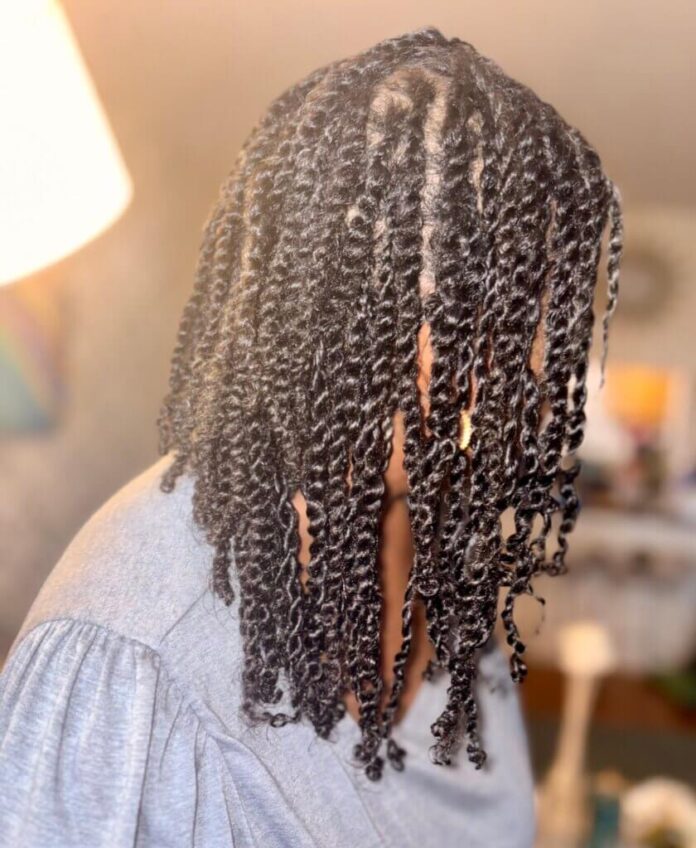
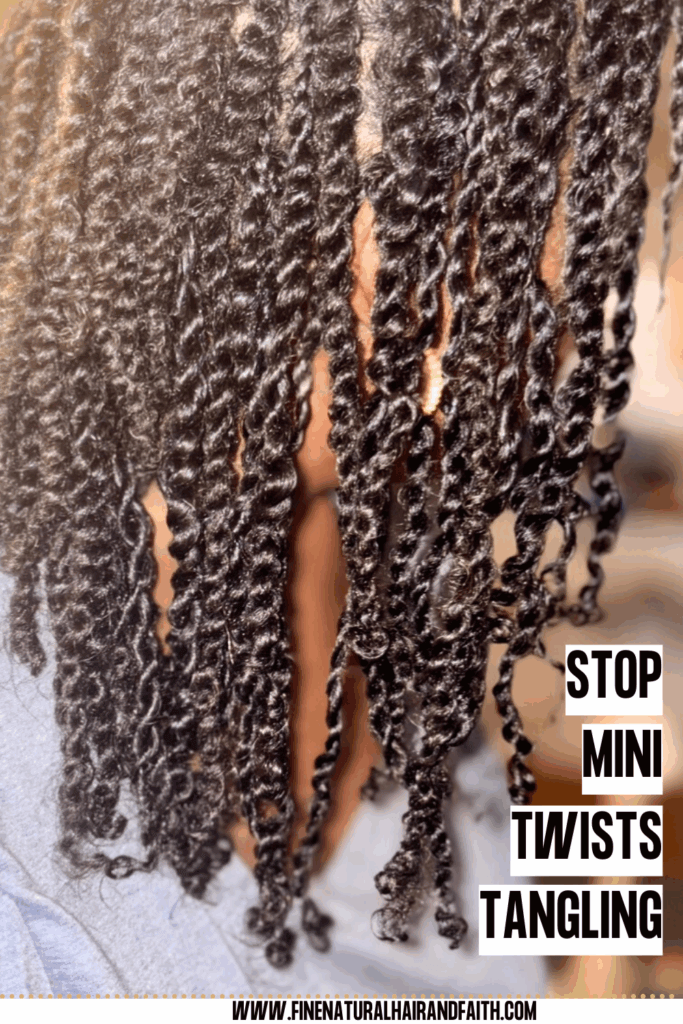
Mini twists are low maintenance and long lasting, but if you have ever taken them down only to deal with single strand knots, tangles, or breakage, you know how frustrating it can be.
The good news is that keeping your mini twists tangle free is not a pipe dream. With the right prep and maintenance, you can keep your mini twists neat, moisturized, and easy to unravel when it is time to take them out.
Why Do Mini Twists Tangle in the First Place?
Here are the most common reasons:
- Shed hairs get trapped inside the twists
- Your roots start to mesh up as new growth starts coming in
- The ends of your hair curl up and wrap around themselves, often drying out
- Your hair is twisted while it’s dry and/or tangled
- You go too long without moisturizing the twists
- You manipulate your hair and fiddle with your twists too much (ex: twirling the ends)
Understanding these causes is the first step toward preventing your twists from drying up and tangling, leading to hair breakage.
Mini Twist Fixes at a Glance
- Start with clean, moisturized, detangled hair
- Stretch your hair before twisting
- Avoid twisting too small or too tightly
- Keep hair moisturized throughout the life of the style
- Protect your hair at night to prevent friction
- Avoid over manipulating your twists
- Focus on root care but also on sealing your ends
How to Prevent Tangling at the Roots
Root tangling happens as your hair grows out and new growth starts to mesh together. If you leave your twists in too long without refreshing or separating the roots, they can lock up and create excess tangling.
Then, those tangles lead to knots when it’s time to take your twists out.
Below are some ways to avoid it:
Smooth Your Roots Weekly
Once or twice a week, gently smooth your roots by sliding your fingers into the new growth and loosening any strands that may be starting to mesh together.
Apply a bit of a light weight oil like jojoba oil, which is very close to your scalp’s natural sebum.
Keep Your Scalp Clean and Moisturized
A dry scalp and dry roots can cause friction that leads to tangling. Mist your scalp with a conditioning spray or some rose water. Even just a little water misted on your scalp every few days can keep your roots soft and hydrated.
Just be sure to follow up with that lightweight oil
Keep Your Twists Stretched
Just like if you want to retain length on your natural hair, you’d keep it stretched when loose, do the same for your twists.
When your twists shrink up too much, excess tangles can occur.
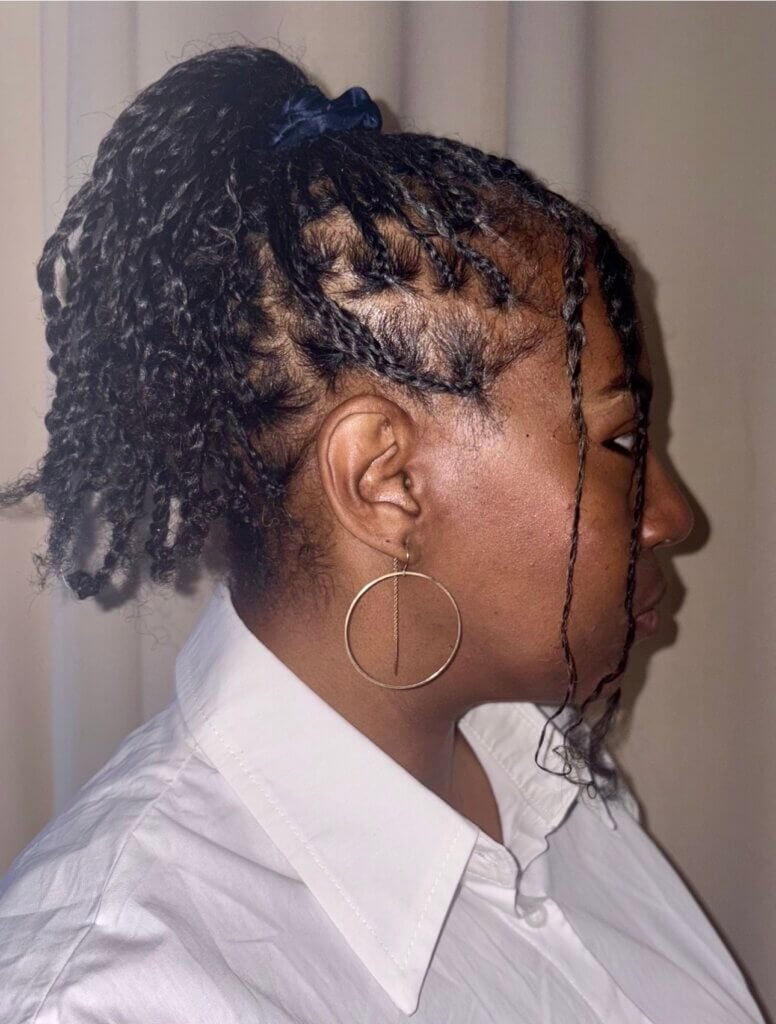
After moisturizing, either band your twists in a loose ponytail or stretch them in a loose braid or bun to reduce shrinkage while it’s drying. This will minimize tangling at the roots but also the ends.
How to Prevent Tangling at the Ends
The ends of your twists are likely the most delicate since that’s the oldest section of your hair. When your twists are dry, exposed, or rubbing against your clothes, they dry out further, and your ends begin to look bushy.
That’s the first step to tangled ends that start breaking.
Here is how to stop that from happening:
Moisturize and Seal Properly
Regardless of what type of twists you do, it’s important to moisturize and seal your hair properly. To do so, simply spritz your hair with water lightly followed by a moisturizing styling cream.
Alternatively, you can use a bit of a leave in conditioner which usually contains a blend of water and oils.
You don’t want to use too much oil because it will only weight your hair down, making the twists appear too skimpy.
I like to use Shea Moisture’s Curl Enhancing Smoothie for this. I canceled them a while back, but this one product is back in rotation because it just performs so well. So, I had to put aside pride because using it keeps my twists soft and easy to unravel later.
Sealing Your Ends
Now, as it relates to the ends of the hair, I’ve discovered the absolutely best combination for keeping the ends sealed for several days. It’s a two-step process that involves using:
- flaxseed gel
- a thick hair butter

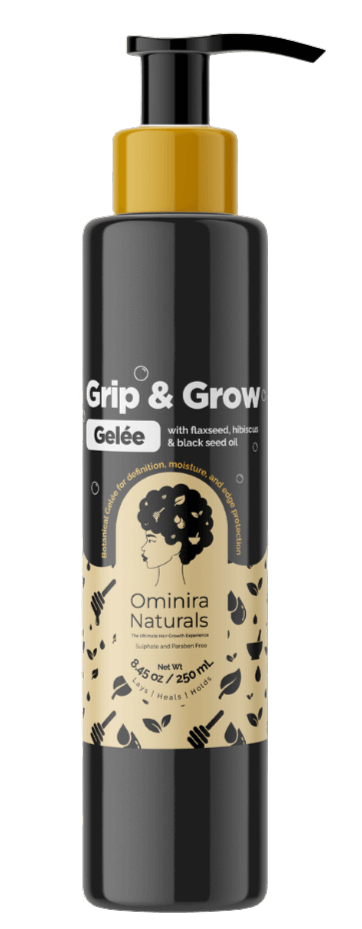
Now, you could use any brand you like, but after testing multiple brands, I highly recommend these two:
These two products work in tandem with each other, and they are staples in my routine.
Trim Before Twisting if Needed
If your ends are already split, rough, or knotty, they will tangle faster. Do a light dusting or trim before installing your twists to give yourself a fresh, clean base.
Keep Your Ends Tucked Away When Possible
While there are twist styles you can do with mini twists, it’s best to keep your ends up and off your shoulders to help reduce tangling and friction. Try buns, French rolls, high loose ponytails, or pinning your twists up for the majority of the time.
And, don’t forget to put a silk or satin barrier between your twists and your pillow at night.
6 More Tips to Prevent Tangling Throughout the Style
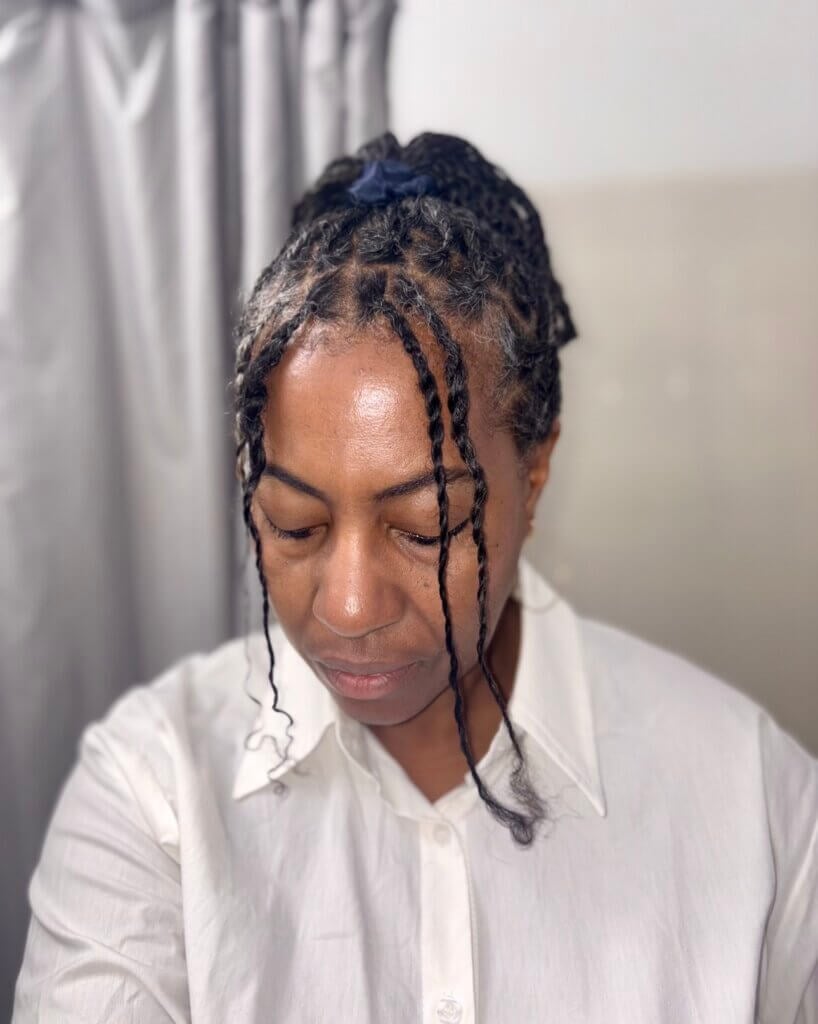
While the tips above are to help you with maintaining your twists after you’ve done them, below are some additional tips to take into consideration before twisting.
Start With a Moisturized, Detangled Base
Before grabbing your sectioning clips and twisting products, make sure your hair is fully detangled and well conditioned. Tangles going in will only get worse over time.
Stretch Your Hair Before Twisting
Stretched hair reduces shrinkage, tangling, and unwanted coiling. Use a blow dryer on low to gently stretch your hair using the tension method. Alternatively, you can try heatless methods like banding, doing some large bantu knots or a roller set overnight.
African threading is also a popular method, but it can take a bit of time. I opt for using my RevAir to stretch my hair
Braid the Roots
One of the best ways to prevent tangling at the roots is to braid the first 1/4-1/2 inch of hair before starting the twist.
Just beware, if you have fine hair, the twists may appear ‘scalpy.’ This is because the hair at the root will essentially be plastered down.
Don’t Go Too Small
The smaller the twists, the more likely they are to tangle. Choose a size that gives you longevity but is not so tiny that it causes matting.
Otherwise, should you choose to twist very small, consider taking them out after at least 3 weeks.
Related: Clean Parting for the Neatest Mini Twists
Tips for a Smooth and Easy Takedown
Once you are ready to remove your mini twists, you’ll need to be careful not to cause breakage. The key to doing mini twists for hair growth is to ensure you aren’t being counterproductive during the takedown process.
Here are some tips for safely removing your twists:
- Lightly mist your twists before starting
- Take your time and unravel from ends to roots
- Remove any shed hair as you go
- Use a little detangling conditioner (Ominira Naturals Tangle Slayer is my #1) or some oil on your fingertips
- Proceed with shampooing and follow with a deep conditioner or protein treatment
Final Thoughts: Tangling Is Preventable With the Right Routine
Tangled mini twists are frustrating, but they are not inevitable. By paying extra attention to your roots and ends, moisturizing regularly, and protecting your style from friction, you can make takedown day easy and breakage free.
Try the methods for keeping your mini twists tangle free that I shared above to see the difference next time you rock your mini twists.
More Tips for Doing Twists on Fine Natural Hair
Want Faith Based Hair Care Advice?
Sign up for the Faithful Living Newsletter. It’s free and offers the inspiration, motivation, and education you need for healthy, natural hair alongside guidance for Christian living.
