
The Final Fantasy XIV x Monster Hunter collaboration continues with Guardian Arkveld becoming an available Trial in the Dawntrail expansion. It can be a very tricky fight, since this boss doesn’t really have any cast bars; it’s all on-screen hints and teases. With that in mind, you really need to pay attention to the AOEs that appear on the ground. Interestingly enough though, players get a Well-Fed buff, and access to Mega Potions as an alternate button they can press to heal.
However, these have a limited use (10 uses), so use them sparingly. Square Enix really nailed this fight, from the remixed music down to the constant, annoying movement of the Arkveld monster. Here’s how we defeated the normal version. When we’ve bested the Extreme boss, we’ll update accordingly.
Tips to beat Guardian Arkveld on Normal difficulty in Final Fantasy XIV
Guardian Arkveld is a Final Fantasy XIV trial that will definitely test your ability to stay focused and not get one-shot. The tail smash attack, for example, is almost assuredly a one-shot, if you get caught in it. You get a brief amount of time to get out of the way at least. Below is a list of the various attacks Arkveld can use in this fight; it’s got a ton of options, that’s for sure.
Guardian Arkveld’s attacks
- Arkveld smashes a wing into the ground. After a brief delay, a large rectangle AOE hits the ground. It deals a tremendous amount of damage, and may one-shot you.
- After dashing across the screen, another large AOE will fill the middle of the battlefield, where he uses ice breath. Get to the left or right side.
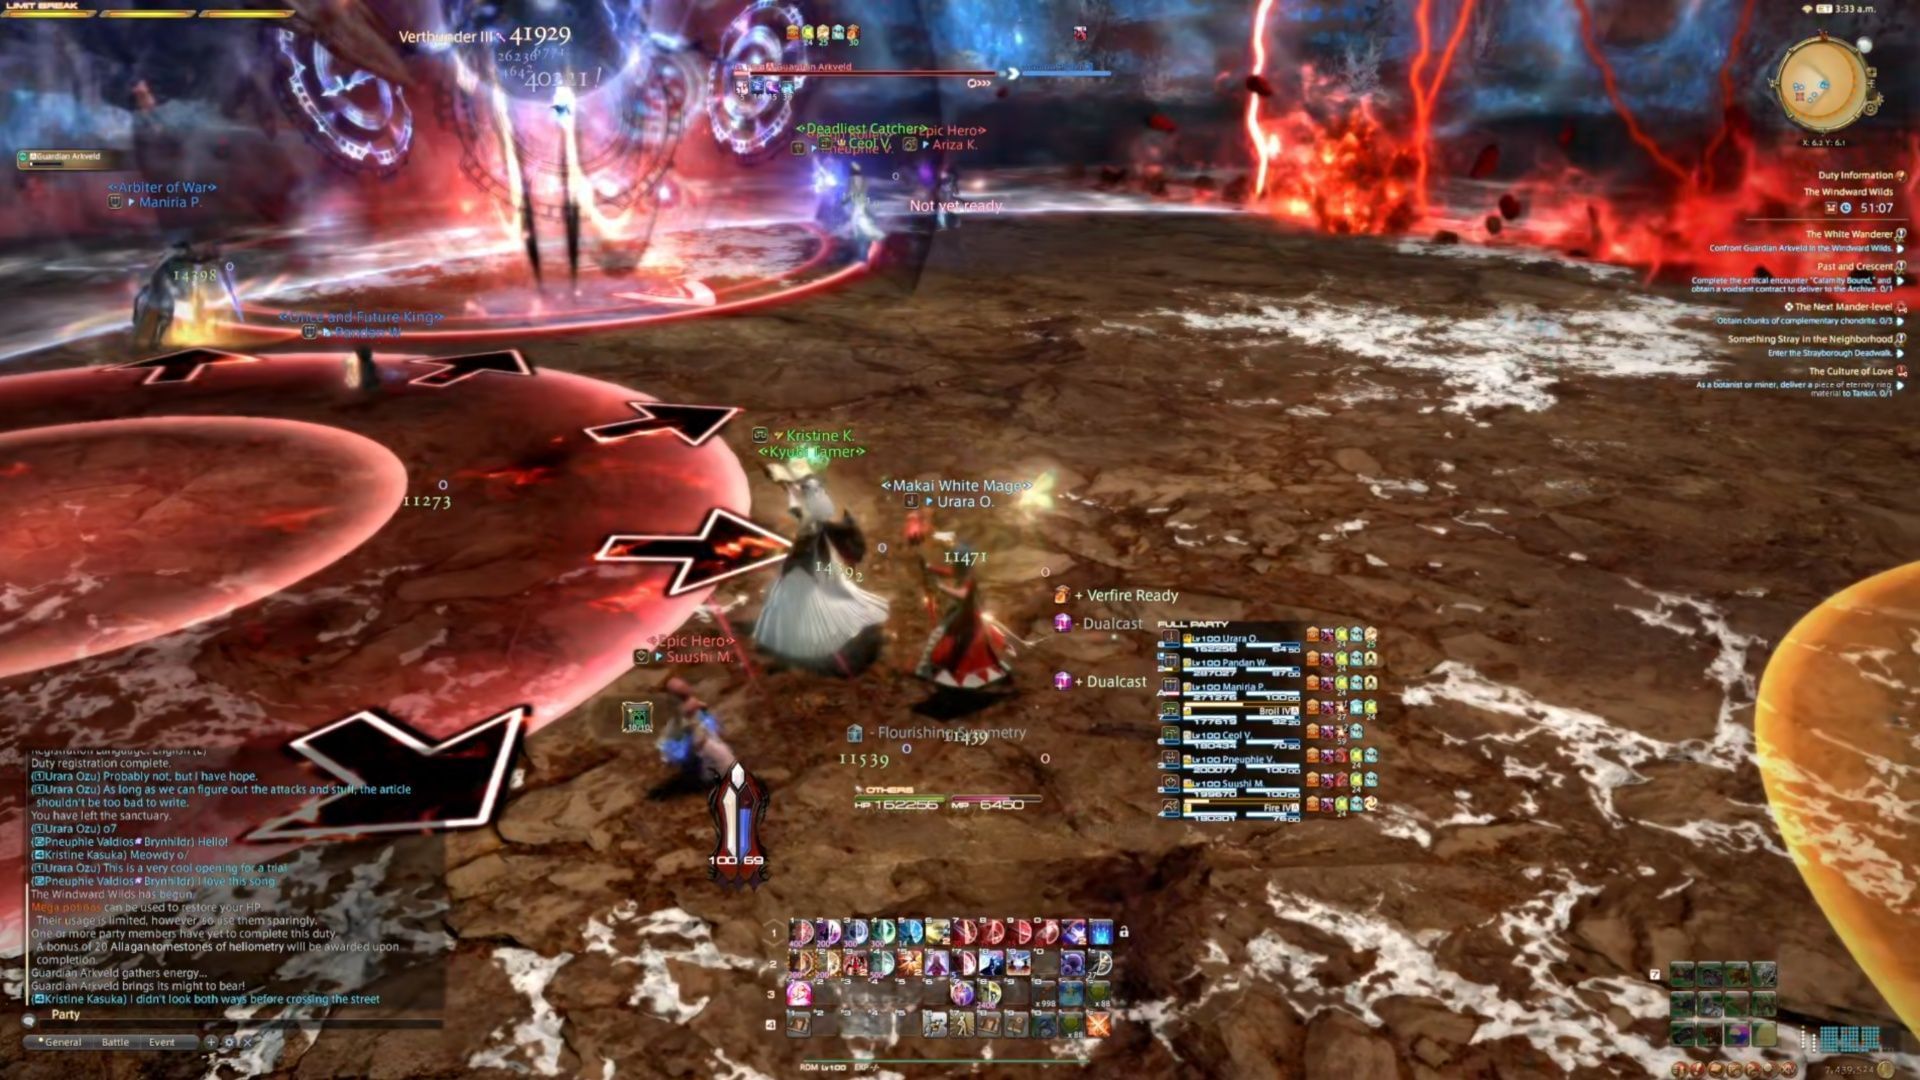
- Arkveld will conjure a long, rectangle AOE with arrows pointing away from it. This is the direction the AOEs will keep respawning as they move across the battlefield. Just run between them.
- If you see a large red line while the boss charges up, he’s going to leap across the screen after a delay. Get in the middle of the screen to avoid damage.
- After jumping across the screen, you will occasionally see huge red AOEs that form in a pattern, also with arrows leading away from them. You will see, after the lines all show up, a bunch of line and circle AOE explosions. The larger circles will have places to stand in the middle. Almost certainly OHKO. Watch the lines and move accordingly.
- Occasionally, Arkveld will make pillars appear on the ground. One person needs to stand by them until an AOE appears. Then retreat out of the way.
- When Arkveld “gathers energy”, large circular AOEs are going to extend away from the boss. Look for the arrows and don’t be in their path.
- Arkveld can give a bunch of players AOEs that spawn under them. Stand away from players as best you can.
- When Arkveld “brings its might to bear”, it uses a series of large, devastating tail smashes. The explosions do devastating damage, so stay out of their path.
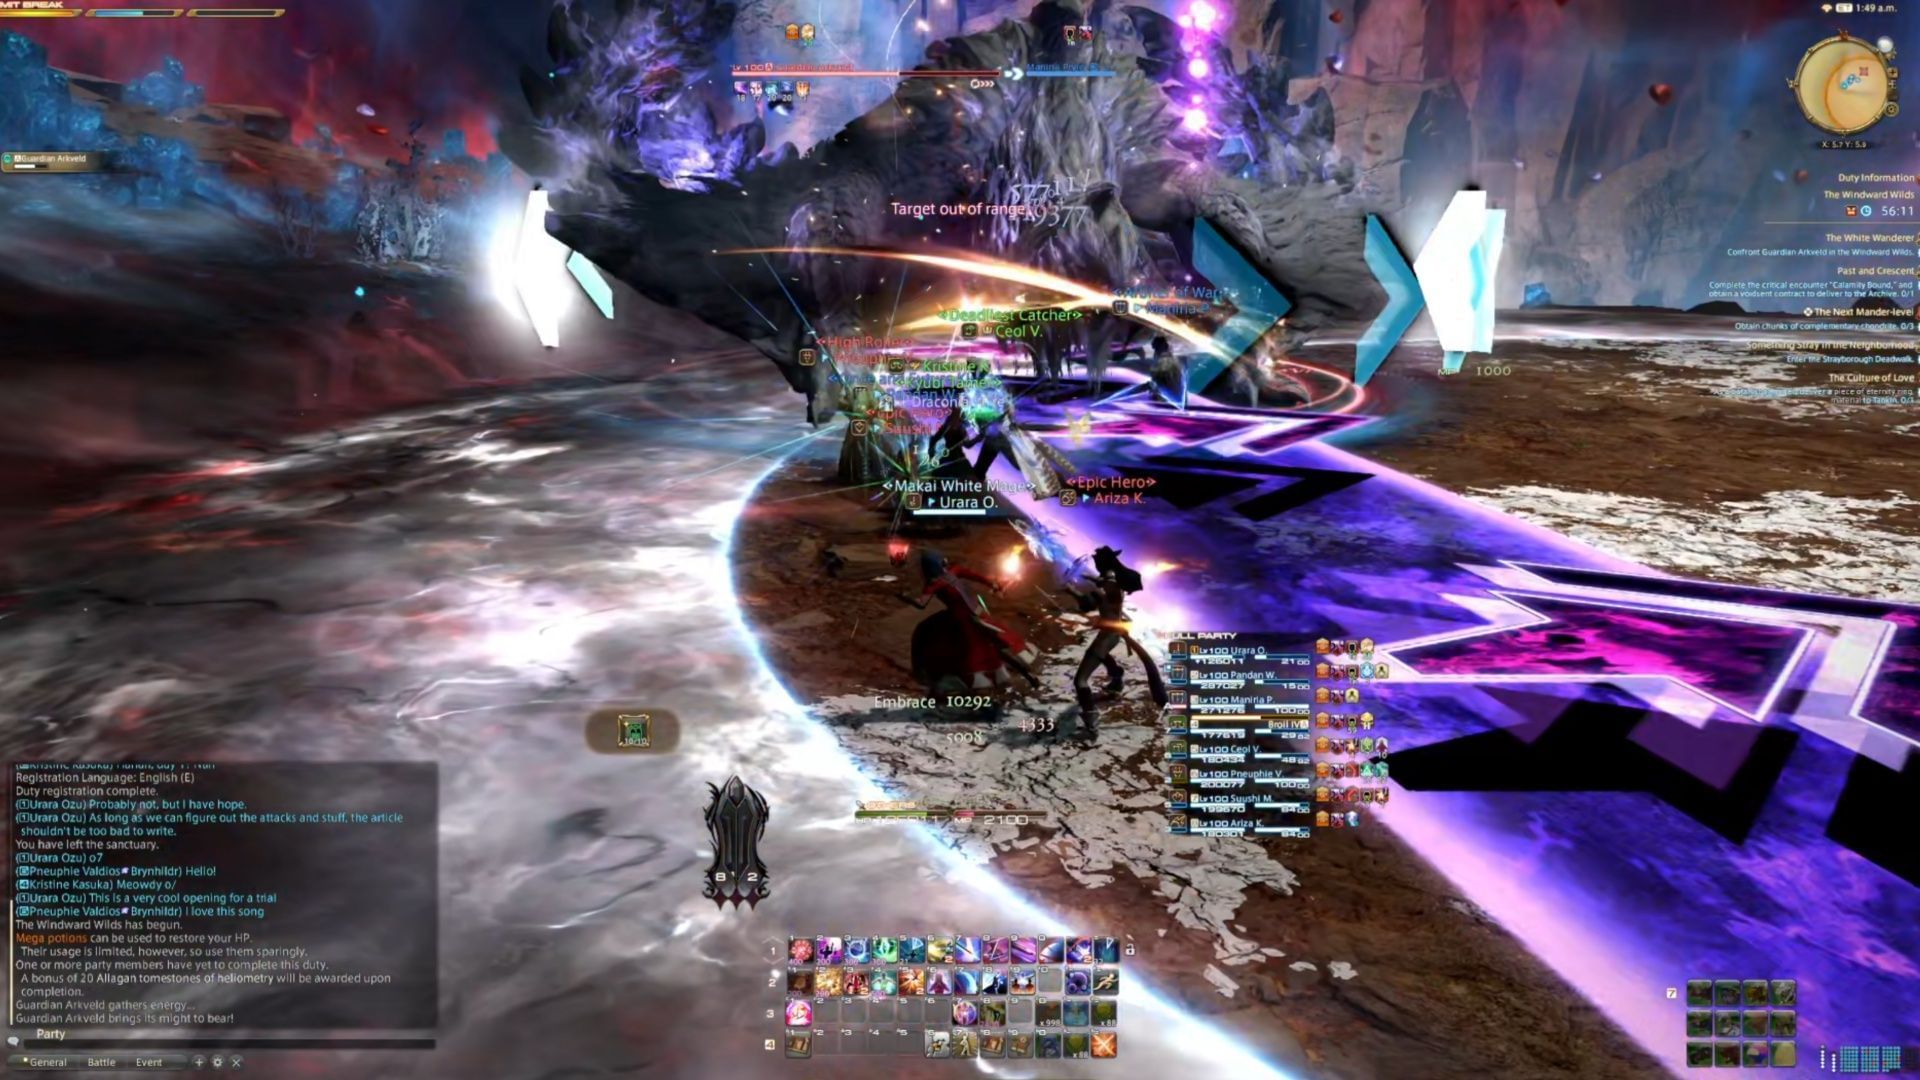
- Arkveld will create a large purple line AOE with arrows pointing in a direction. Just stand behind the opposite way the arrows are facing to avoid the explosions. It will slowly travel across the screen.
- If you see two line AOEs next to each other, after a pair of explosions, they’ll separate and make their way across opposite sides of the screen.
The hardest part of fighting Arkveld in Final Fantasy XIV, to be perfectly candid, is when the boss sets down the large red AOEs in a pattern. Quite a few bosses do it, so it’s not something you’ll be unused to. Just look at the pattern and move accordingly to avoid the big damage AOEs.
If you see a red aoe that has arrows pointing away from it, that’s a big circular one to avoid. If it’s a huge ring, you can stand in the middle of it, but those can still be tricky. The best advice I can give you for this phase of the battle is to just pay close attention to the AOEs Guardian Arkveld lays down in Final Fantasy XIV.
Since there are no cast bars in this Final Fantasy XIV boss fight, it’s all about paying attention and staying mobile. Not especially a fun fight as a Red Mage, I can tell you that at least. When Arkveld jumps across the screen, you’ll likely have to make one of two calls. If it teases a red spark line, get in the middle. If it’s a white spark, get out of the center.
This is a fight that feels more intimidating than it is. It’s really just a matter of learning where to stand. Once you have that down, this fight’s cake. The Extreme version is sure to be nightmarish. At least, in this fight, you can heal the whole time. I wouldn’t rely on the Mega Potions, though.
They don’t heal very much. Great in a pinch, but that’s about it. You likely have these, because during the fight you have a debuff that slowly lowers your health until the boss is killed.
Once you defeat Arkveld in Final Fantasy XIV, make sure to get your scales from the crown of the boss, and check your inventory for your item level 745 weapon. It will connect to whatever job you open it as, so be careful.
Check out our other Final Fantasy XIV guides and features

alt=”Jason Parker” height=”72″ width=”72″>
Edited by Jason Parker