Over the years, I’ve seen so many clever ideas for growing garlic indoors from cloves, and honestly, I couldn’t resist giving a few of them a try.
Some methods were surprisingly effective, while others… not so much.
After experimenting, I figured out which tips actually work if you want to grow garlic indoors in containers or pots and keep a steady supply of fresh garlic greens right in your kitchen.
Instead of overwhelming you with an in-depth, definitive guide, I’m going to share seven easy, practical tips that anyone can follow.
Think of this as a shortcut: I’ve already tested different methods, and now you can skip the trial-and-error part.
Just follow along, implement these steps, and you’ll be harvesting garlic indoors before you know it.
Let’s dive in!
7 Effective Tips for Growing Garlic In Pots
First, it’s important to clarify why anyone would bother to grow their garlic indoors when they could do it outdoors hassle-free.
Well, it turns out that you can grow your fresh garlic all year round when you do it indoors!
There is no rain, wind, or snow to hinder your gardening.
Growing garlic indoors allows you to control all the elements and grow your plants 365 days a year if that’s what you want to do.
Besides, indoor gardening provides you with an opportunity to learn more about growing garlic on a small scale and risk-free.
This is invaluable if you’re planning to scale it up in the future or even going commercial.
Furthermore, incorporating your interior spaces with plants enhances your quality of life and the ambience of your home.
Now that we all know some of the benefits of growing garlic indoors, let me discuss how you can be successful at it.
What you’ll require
1. Appropriate containers or planters
2. Suitable soil or pot mix
3. Relatively well-lit interior space (near the window or balcony)
4. Several garlic cloves, depending on your space and the number of plants you require.
Choose Appropriate Container(s)
The first consideration when selecting the right container is the size.
Look for a container around 8-10 inches deep, minimum, and if you are planning on growing more than one bulb at a time, then the pot has to be big enough to maintain a four-inch gap between each clove.
Secondly, make sure that your container has enough drainage holes.
If you’ll be placing the container on a solid surface, make sure the drainage holes aren’t blocked.
If they are, try placing the container on a tray of pebbles.
The number one rule of indoor container growing: water must be able to drain freely.
Selecting a Suitable Soil or Potting Mix
Unlike the plants grown directly in the garden soil, life in containers can be very hard on the plants.
Therefore, it makes great sense to provide them with the best conditions as much as possible.
For starters, avoid the garden soil as much as possible.
It is important that you use the right soil that is well-draining and permeable.
Soil-less potting medium is best. You can also make one for yourself instead of buying– Mix peat or cocopeat (coconut fiber), compost or manure, and either perlite or vermiculite (if you don’t have both, use sand) in equal parts.
Alternatively, if the budget allows, you can buy premium potting mix.
Miracle-Gro is a good example of affordable and premium potting soil that can save you a lot of frustration trying to keep your garlic plants alive.
How do you grow garlic in pots?

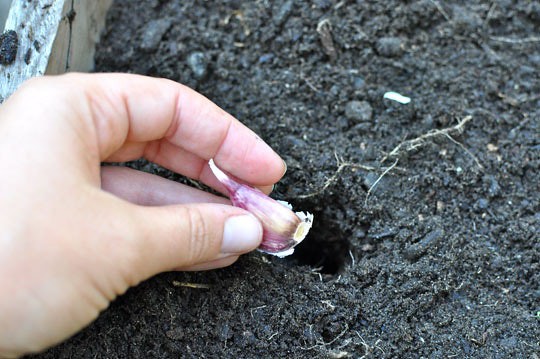
Place cloves 4 inches apart and 2 inches deep, in their upright position (the wide root side facing down and pointed end facing up)
The next step is to fill the pot with the organic soil mixture or the premium potting soil.
You then need to remove the individual cloves from the garlic bulbs and make sure that the flat end is going to be pointing down in the soil, since that’s where the roots come from.
At the time of filling the soil, you can also mix time-based granular fertilizer such as 10-10-10.
Make sure to separate individual cloves from the bulb the day of or up to two days before planting.
If you separate the cloves for longer than two days, they will dry out.
When planting them, you need to push the cloves down at least 2-3 inches deep into the soil.
There should also be roughly 1 inch of soil between the top of the clove and the top layer of the soil.
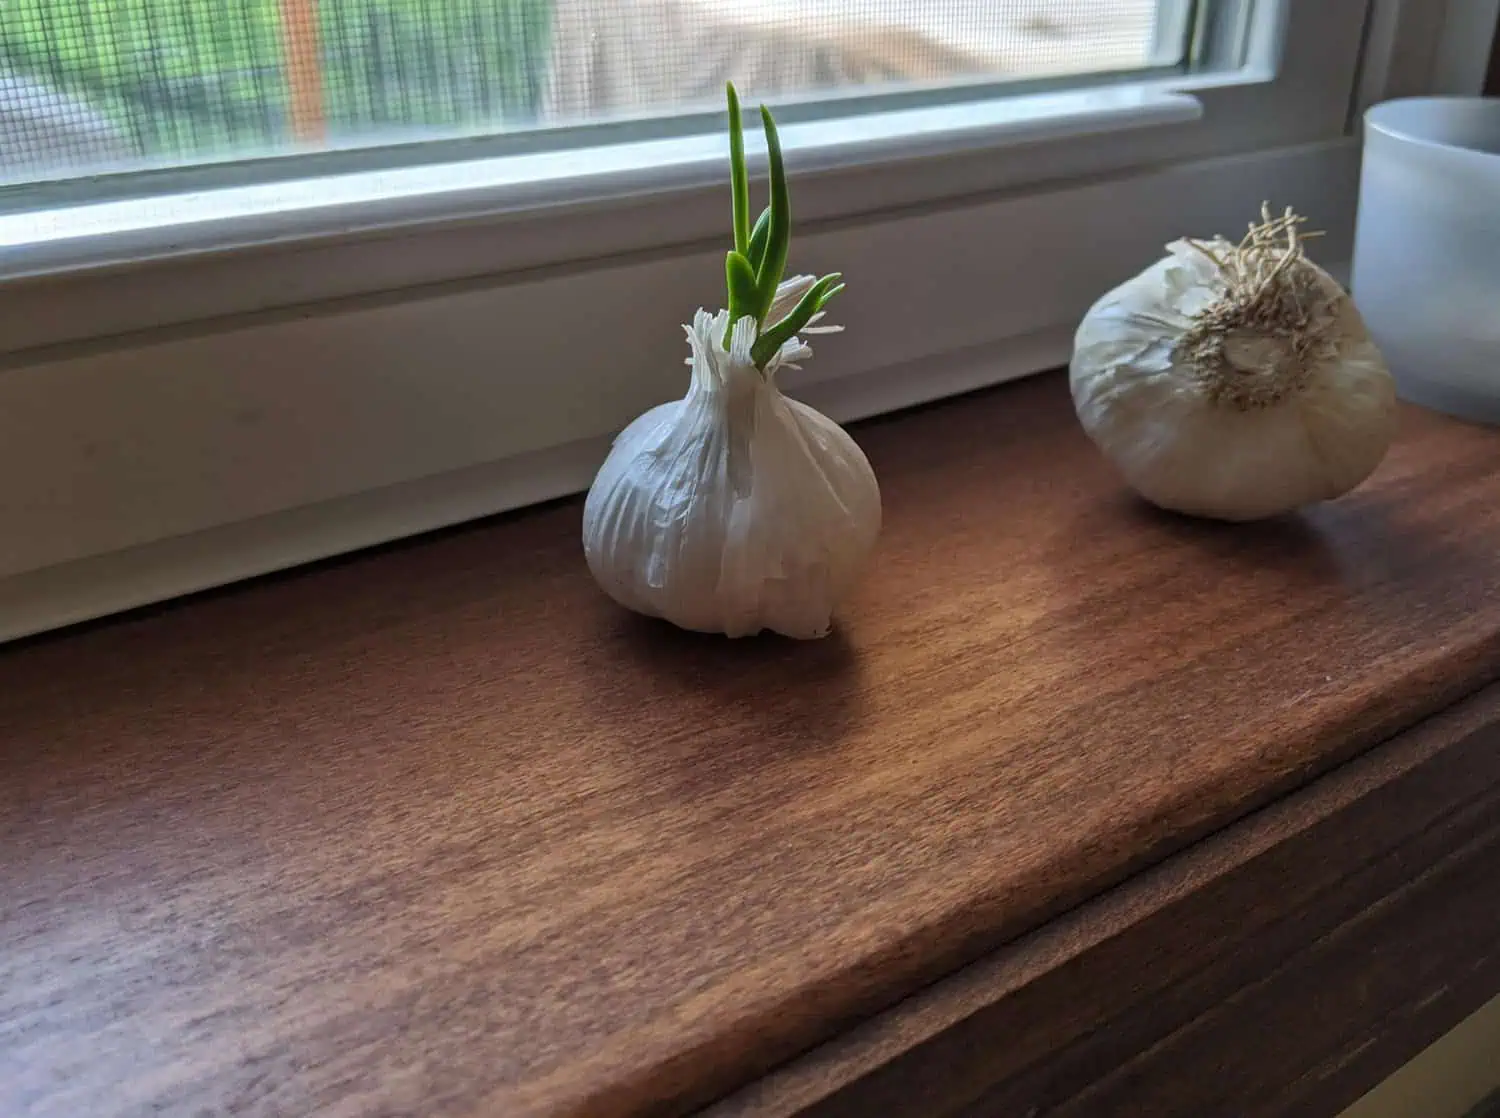
Do not plant cloves from the grocery store.
They may be unsuited varieties for your area, and most are treated to make their shelf life longer, making them harder to grow.
Instead, get cloves from a mail-order seed company or a local nursery.
Place them in a suitable location (light)

Of all of the factors affecting plant growth in interiors, adequate light is by far the most important.
Light is needed for plants to produce food and survive. Generally, the more light available, the more food is produced for growth.
Once you have planted the bulbs, decide where you should place the container.
If there is a room in your home with a South or West-facing window where it can receive at least six hours of direct sunlight per day, consider that.
You can also purchase indoor grow lights to make life easier, and they can certainly be rather effective.
In your home, the amount of light in a given location is variable; it is affected by the presence of trees outdoors (which may shade at certain times), roof overhangs (which may shade at certain times), wall color (reflectance), window curtains, day length, time of day, and time of year.
Learn more about growing indoor plants successfully
Caring for the indoor garlic plants
The fact is, life in containers can be quite tough for growing garlic indoors.
Providing the necessary conditions and taking great care could take them a long way.
The necessary conditions include: sufficient light, warmth, water, aeration, and nutrients.
At this point, we’ve taken care of most of them except the following;
Providing the necessary moisture by watering

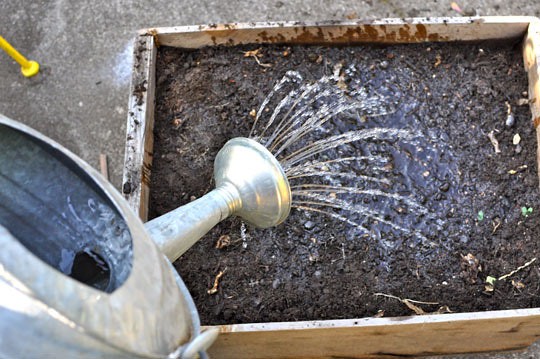
Watering your planted garlic cloves
Outdoors, garlic prefers evenly moist soil.
However, since you’re growing garlic indoors, you may need to be careful.
Watering must be done according to the indoor growing conditions.
For instance, how much sunlight and warmth your potted garlic plants are receiving. Regular watering to keep the soil slightly moist is preferable.
Proper Fertilizer Application
Typically, garlic needs a good amount of fertilizer to grow well; indoors is no different.
Fertilize the garlic plant twice a month with organic general-purpose fertilizer during the warm growing season.
You can also use kelp meal or fish fertilizer to ensure your garlic plant has enough nutrients for optimum growth.
Harvesting your Garlic
Harvesting the Garlic Greens
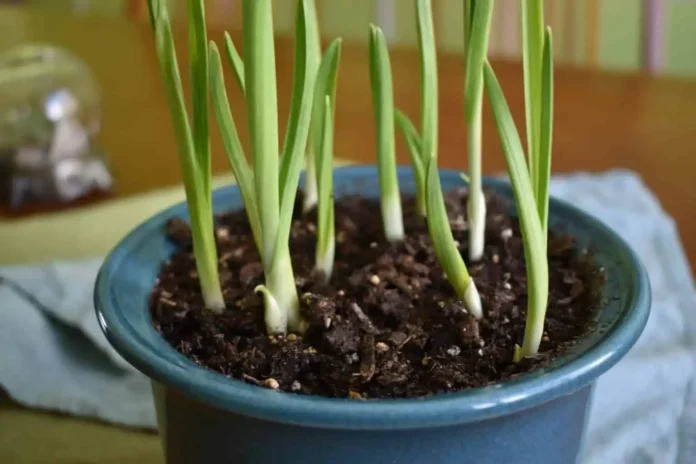
With the right soil, sunlight, and proper watering, in a week or so, you’ll be able to see the fresh new garlic shoots coming out.
Once the greens are 8 to 10 inches tall (a few more weeks), clip off what you need with scissors, and use them in any recipe that calls for garlic or scallions.
You will get several cuttings before the cloves stop putting up more sprouts.
At that point, you can empty the pot into the compost, refill it with fresh potting soil, and plant it up with new cloves.
Harvesting the Bulbs
If you’re growing garlic indoors for garlic bulbs, note that it’ll be ready in around eight to ten months, and you will know this when you see the leaves starting to turn brown.
At this point, you need to remove them from the soil and allow them to dry for a week.
By this time, they will be ready to include in your cooking, or, of course, you could use some of them to grow your next batch of garlic.
Conclusion
You’ve learned about effective hacks for growing garlic indoors.
Most importantly, how to choose appropriate container(s) for indoor gardening, the soil or potting mix, how to select an ideal location, and how to care for the indoor garlic plants.
From here, I encourage you to experiment to get to know the systems and styles that work best for you and your gardening objectives.
Put the tips and techniques in this guide to work and evaluate the results with confidence.
Keep an eye on the big picture and try not to get bogged down if something deviates from your expectations.
The most important thing you can do is to take that all-important first step. Today.
As always, you’re free to leave your feedback in the comments section below.
Editor’s Note: This post was originally published on October 15, 2017, and has been revamped and updated for accuracy, grammar, and comprehensiveness.
- Kiambu Web Design Services
- Kiambu SEO Services
- Kiambu Digital Marketing Services
- Kiambu Social Media Marketing Services
- Kiambu Lipa Pole Pole Phones
- Nyali Web Design Services
- Nyali SEO Services
- Nyali Lipa Pole Pole Phones
- Mombasa Lipa Pole Pole Phones
- Meru Web Design Services
- Meru SEO Services
- Meru Digital Marketing Services
- Meru Social Media Marketing Services
- CBD Nairobi Web Design Services
- Westlands Web Design Services
- Outer Ring Road Web Design Services
- Outer Ring Road SEO Services
- Thika Road Web Design Services
- Thika Road SEO Services
- Thika Road Digital Marketing Services
- Thika Road Lipa Pole Pole Phones
- Langata Web Design Services
- Langata SEO Services
- Langata Lipa Pole Pole Phones
- Mombasa Road Web Design Services
- Mombasa Road SEO Services
- Mombasa Road Lipa Pole Pole Phones
- Mombasa Road Digital Marketing Services
- Mombasa Road Social Media Marketing Services
- Karen Web Design Services
- Karen SEO Services
- Karen Digital Marketing Services
- Garden City Web Design Services
- Thika Road Mall Web Design Services
- Thika Road Mall SEO Services
- Thika Road Mall Lipa Pole Pole Phones
- Eastlands Web Design Services
- Eastlands SEO Services
- Eastlands Lipa Pole Pole Phones
- Donholm Web Design Services
- Donholm SEO Services
- Donholm Lipa Pole Pole Phones
- Ruai Web Design Services
- Ruai SEO Services
- Ruai Lipa Pole Phones
